


You may have noticed some posts from our friends at the Strategist on the Cut. They’ll be dropping in every now and again, sharing their expertise on the basics you don’t have time to research and the weird and wonderful things you don’t yet know you need.
The worst part of a new blemish is not the moment you first see it but the moment you first feel it: I assume you’re familiar with that horrible, tingling pre-zit sensation. But things typically don’t get much better once the pimple emerges. Questions begin to form in your head: Why does it look so much worse in the mirror in the living room? Was that tequila soda I had last night my downfall?
While measures can be taken to prevent pimples from forming in the first place — my personal prevention routine includes lathering Snail Essence and Tea Tree Serums over my face daily — sometimes a breakout is just unavoidable. The good news is (if you can call anything pimple-related good news) I’ve created a combat plan that will help both shorten the blemish’s lifespan and cover it until it goes away. The tips and tricks below require much more than a single stick of concealer, but I guarantee that this multiproduct, multistep process will ensure both the hasty disappearance — and seamless coverage — of your blemish(es).
Step 1: Prep my skin

To ensure all my makeup glides on easily, I prep my face, first with Circumference Beauty Vitamin C. Vitamin C is great for getting rid of dark spots and hyperpigmentation — I use it here as a preventative, in case my blemish has plans to leave a dark spot.
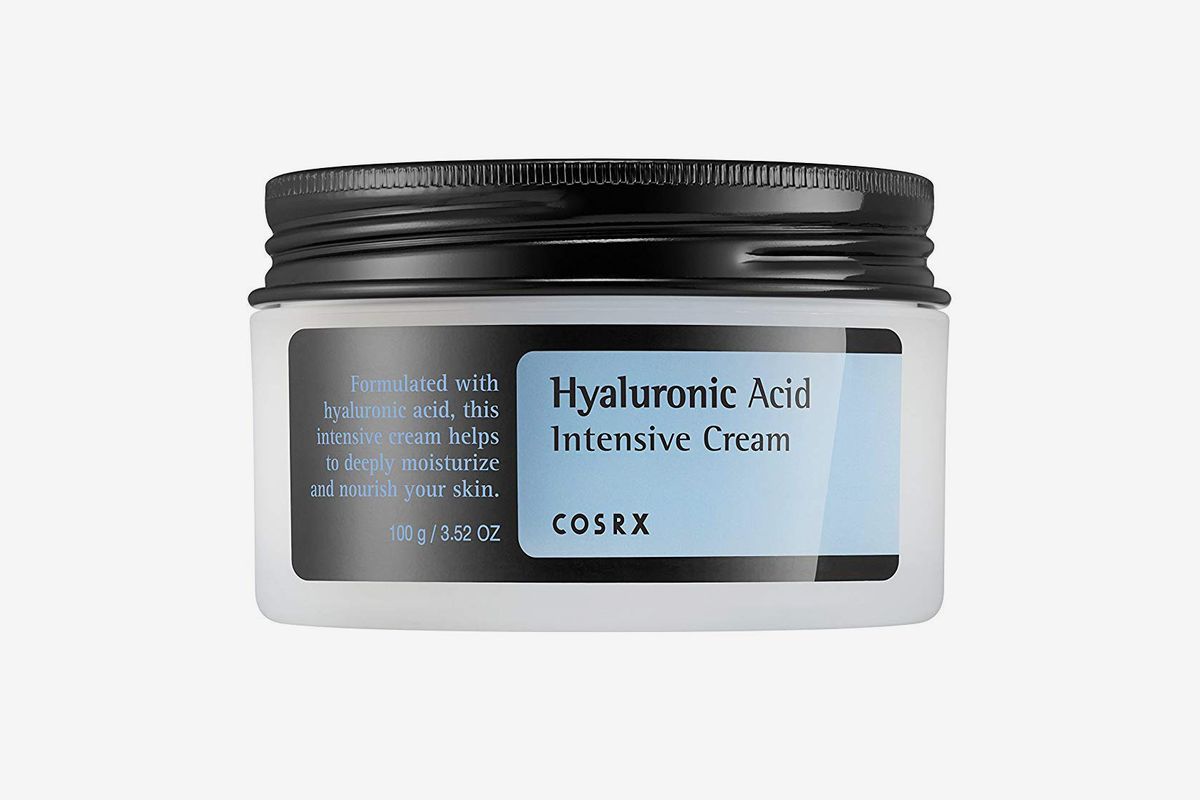
Then I go in with Cosrx moisturizer, which sinks into the skin nicely, and I’m obsessed with how well my makeup goes on after I apply it.
Step 2: Even out my skin tone
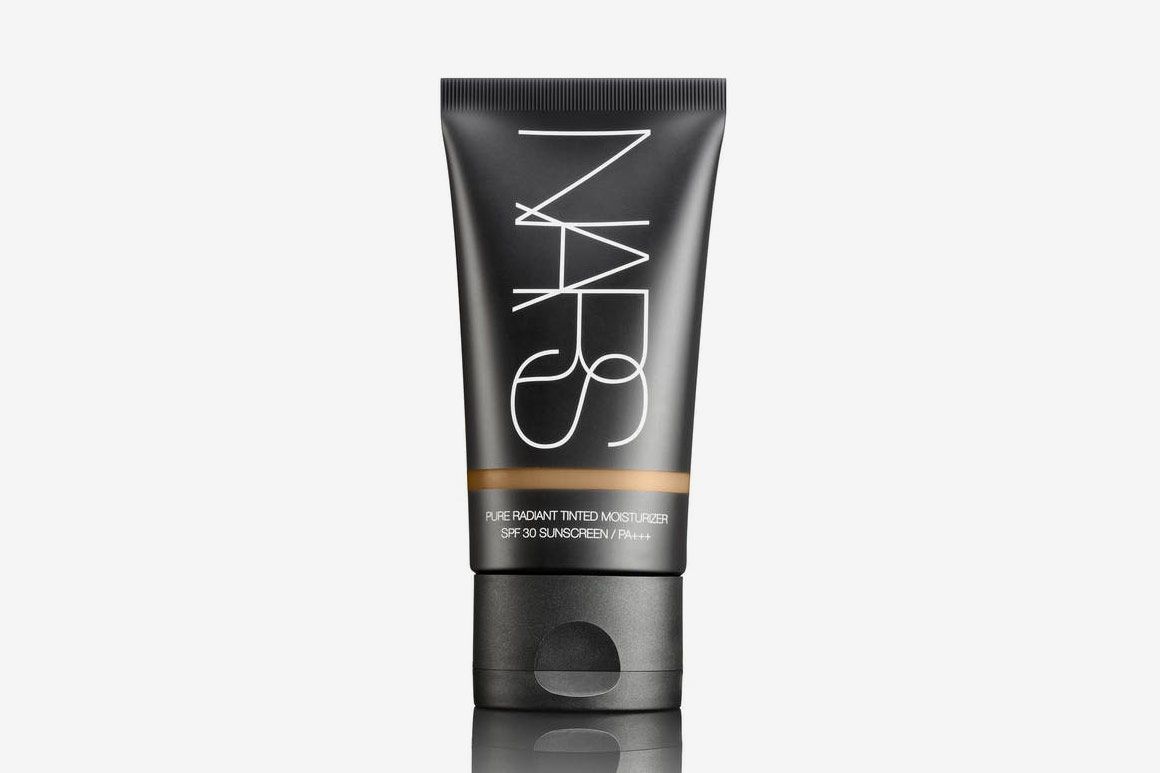
If I know I’m going to be doing a lot of targeted concealing, I like to even out my skin tone first by prepping it with a little bit of tinted moisturizer. I’ve found that targeted concealed areas actually look more natural when they’re buffed and blended into tinted moisturizer instead of just bare skin. I go in with something light like the NARS Tinted Moisturizer, which I know matches my concealer well, and blend it out with my fingers to provide a more natural finish.
Step 3: Conceal the blemish
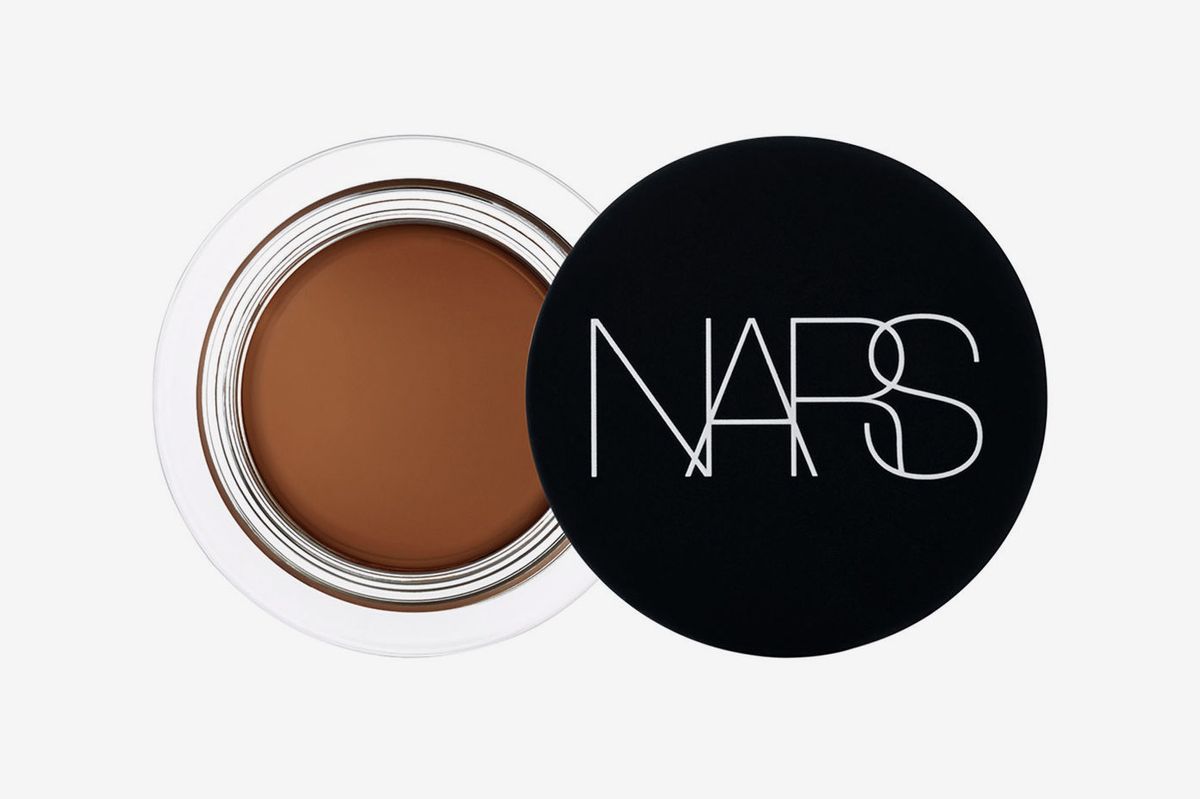
I select my concealer based on whether my blemish is new or old — if the blemish has just popped up, I go for a mattifying concealer like the NARS soft matte complete concealer.
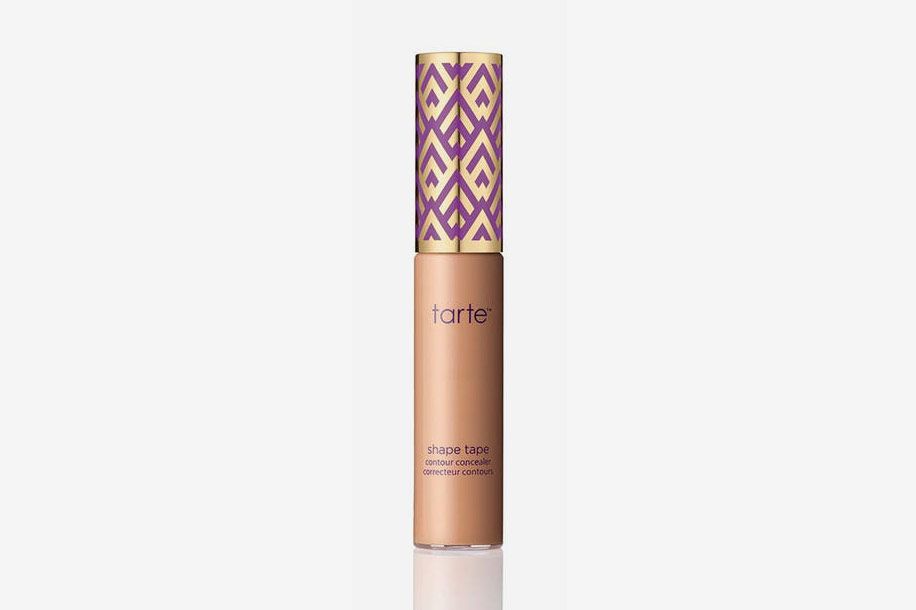
If it’s older and starting to heal, I’ll use a dewier product like Tarte Shape Tape.
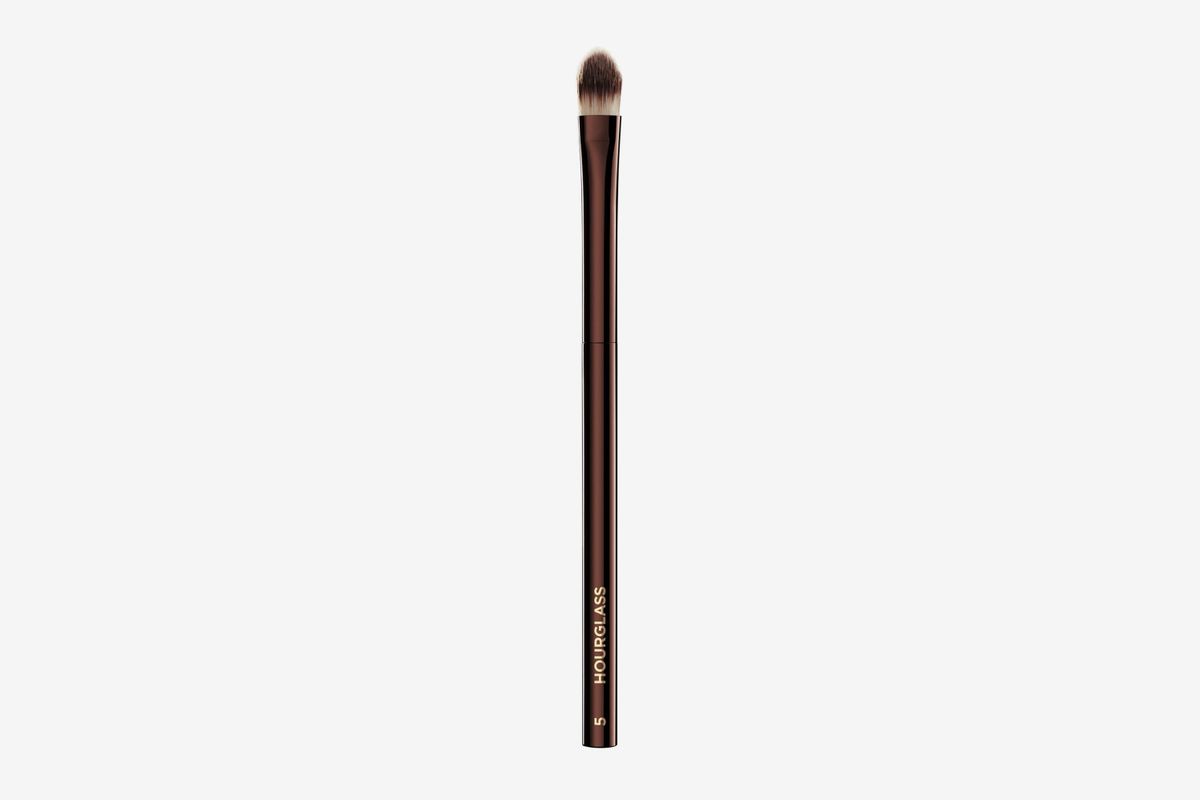
I’ll dot the concealer on the blemish and then lightly push the product into my skin with an Hourglass concealing brush.
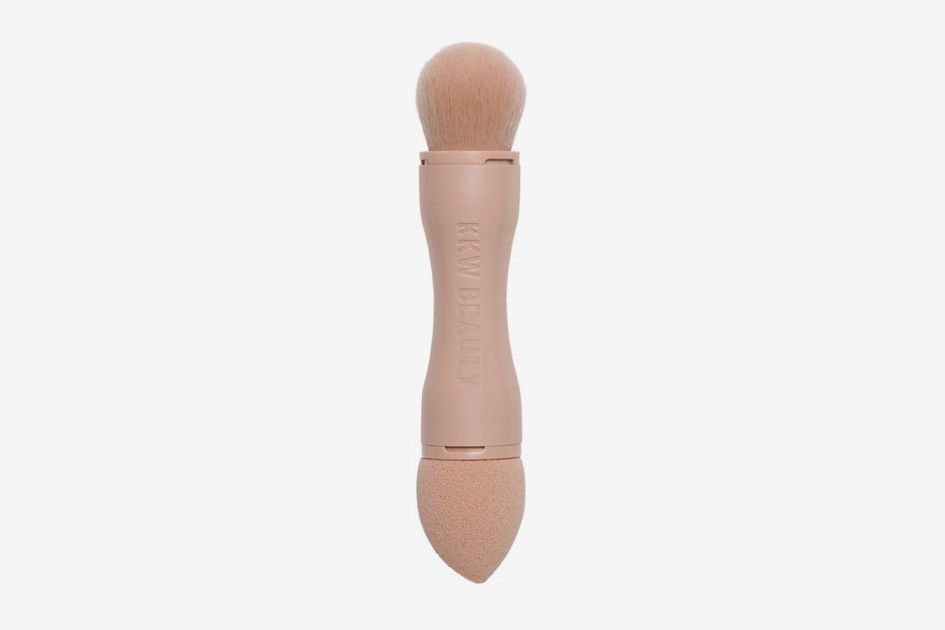
For a bigger blemish, I’ll use the KKW Concealing Brush. Tapping allows for better coverage and less product than rubbing, which can make your makeup look streaky and force you to pile more on.
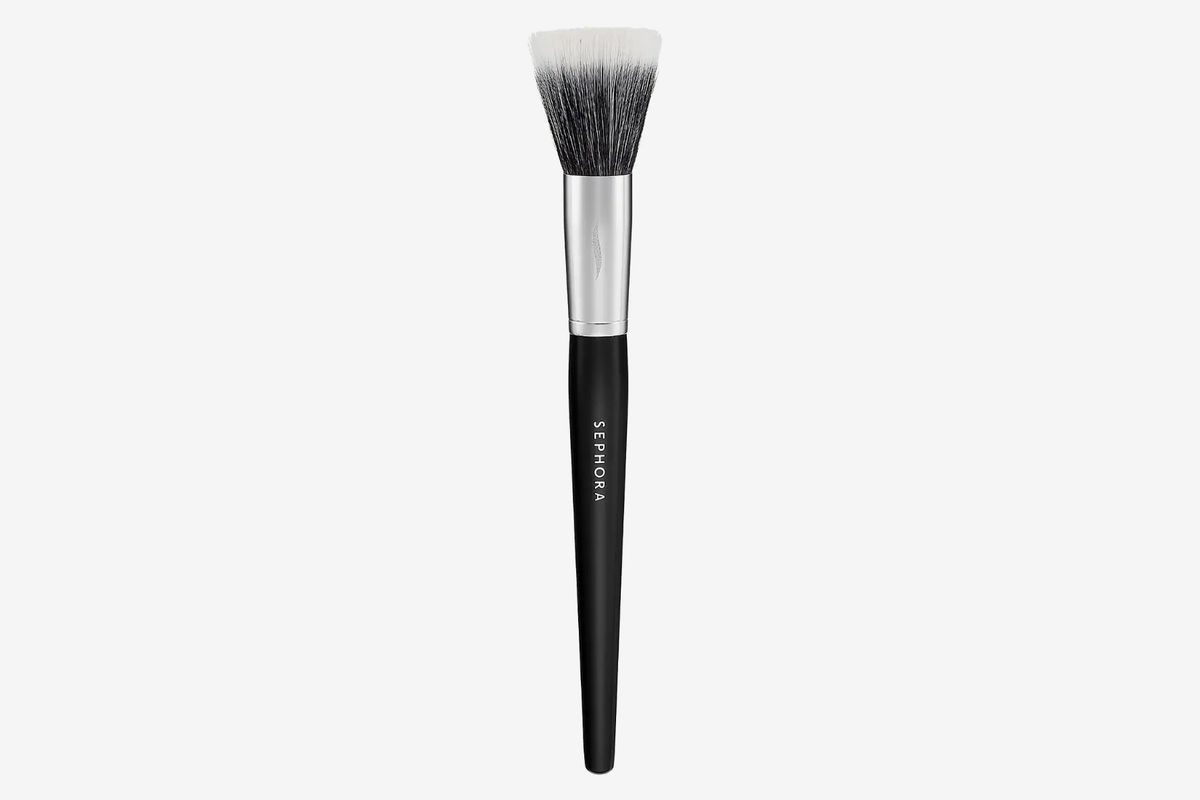
Then I take my Sephora stippling brush and buff out the edges of the concealed area, making sure the product blends seamlessly into my moisturizer. It’s really important with daytime makeup to check how it looks in natural light — I usually take my mirror over to the windowsill and do my makeup there so I can make sure I’m seeing how it actually looks.
Step 4: Set with powder
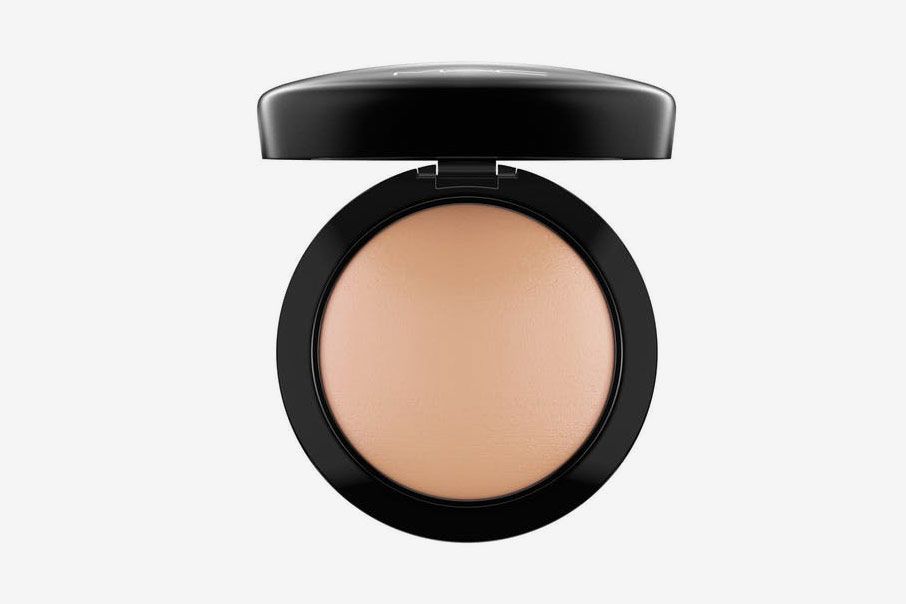
Applying a light amount of powder after you’ve target concealed will ensure that all of your hard work will stay intact throughout the day. I used to skip this step because I wanted a less-is-more look, but I’ve found that by lightly powdering after concealing, the whole look will stay fresh-looking and locked in. When I have a big ol’ zit, MAC’s mineralizing powder is my holy grail. MAC’s powder provides the perfect kick of extra coverage and simultaneously locks preexisting concealer into place, making sure it won’t slip off even on hot, sweaty days. The MAC Blush Brush is perfect for applying this — its bristles distribute the powder evenly and naturally.
Step 5: Divert attention elsewhere
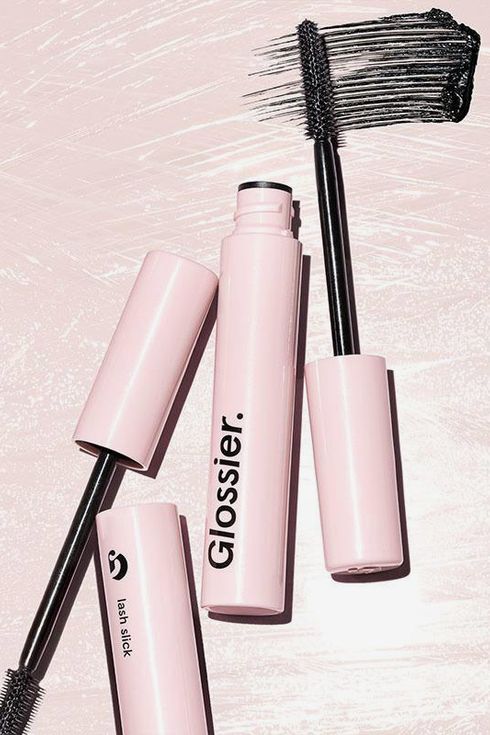
My spots tend to pop up on my chin, so my final trick is to construct the rest of my makeup to intentionally draw attention to a different part of my face. I usually do this by bringing a little extra drama to the eyes. I usually coat my lashes twice with Lash Slick, but when I’m trying to bring extra attention to my eyes, I’ll coat my lashes four or five times.
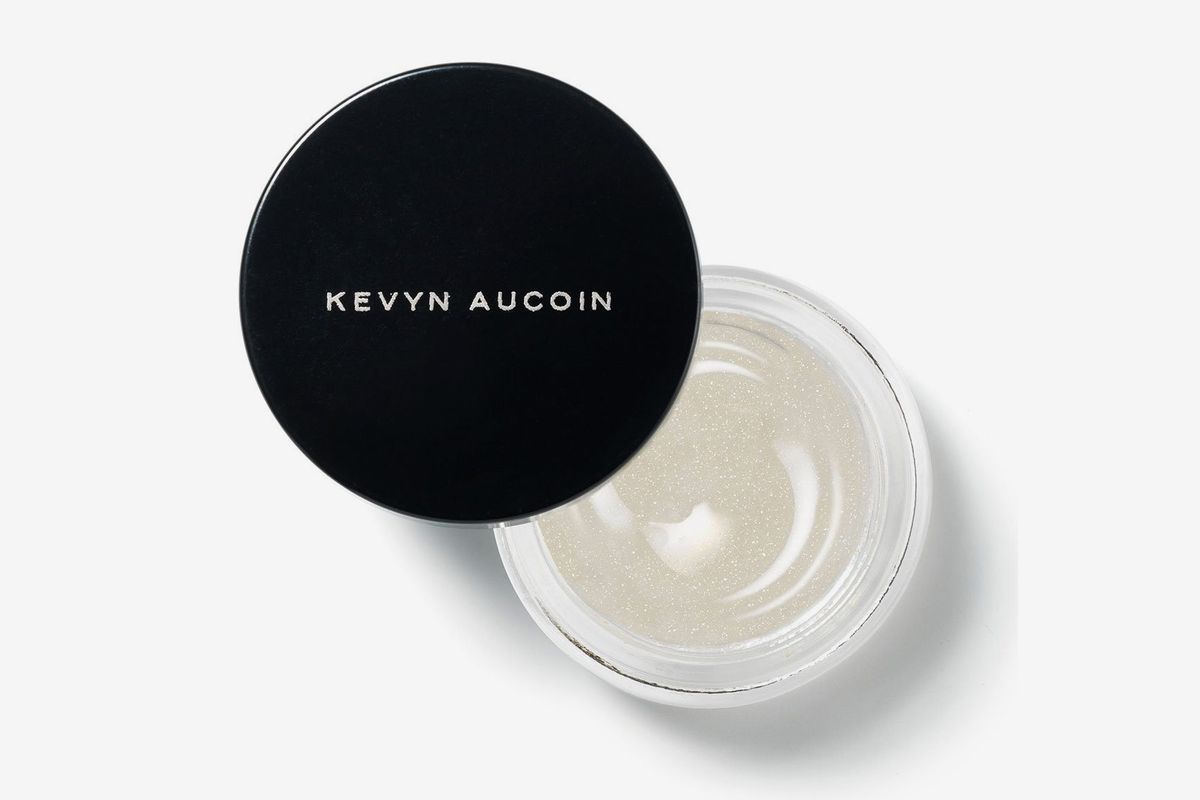
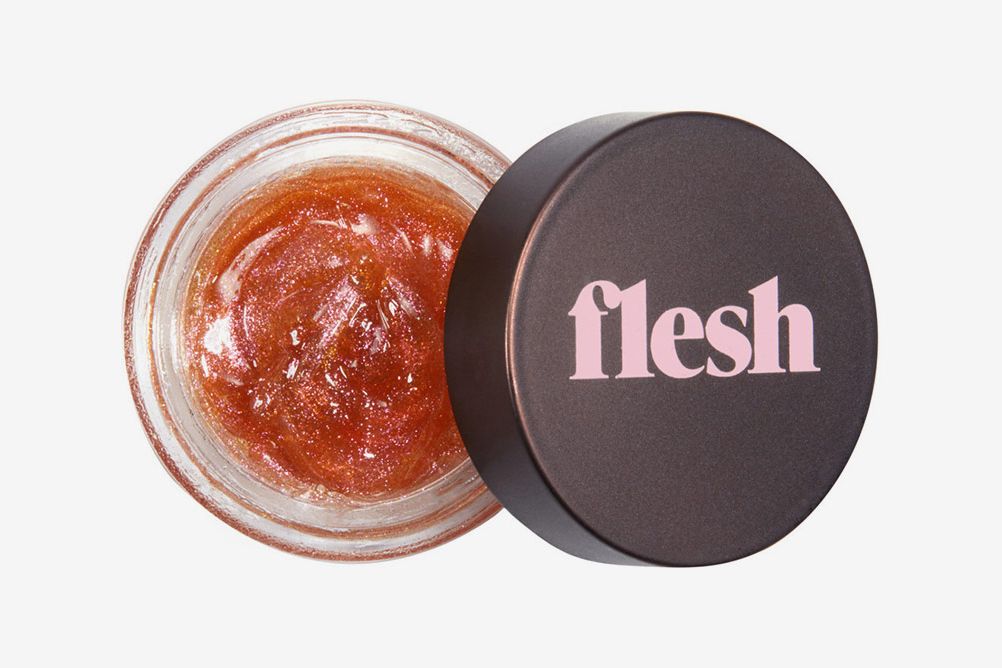
I also love using unfortunate zits as an excuse to wear fun eye shadows and glosses. My recent favorite glosses is the Kevyn Aucoin Exotique Diamond Eye Gloss in Cosmic.
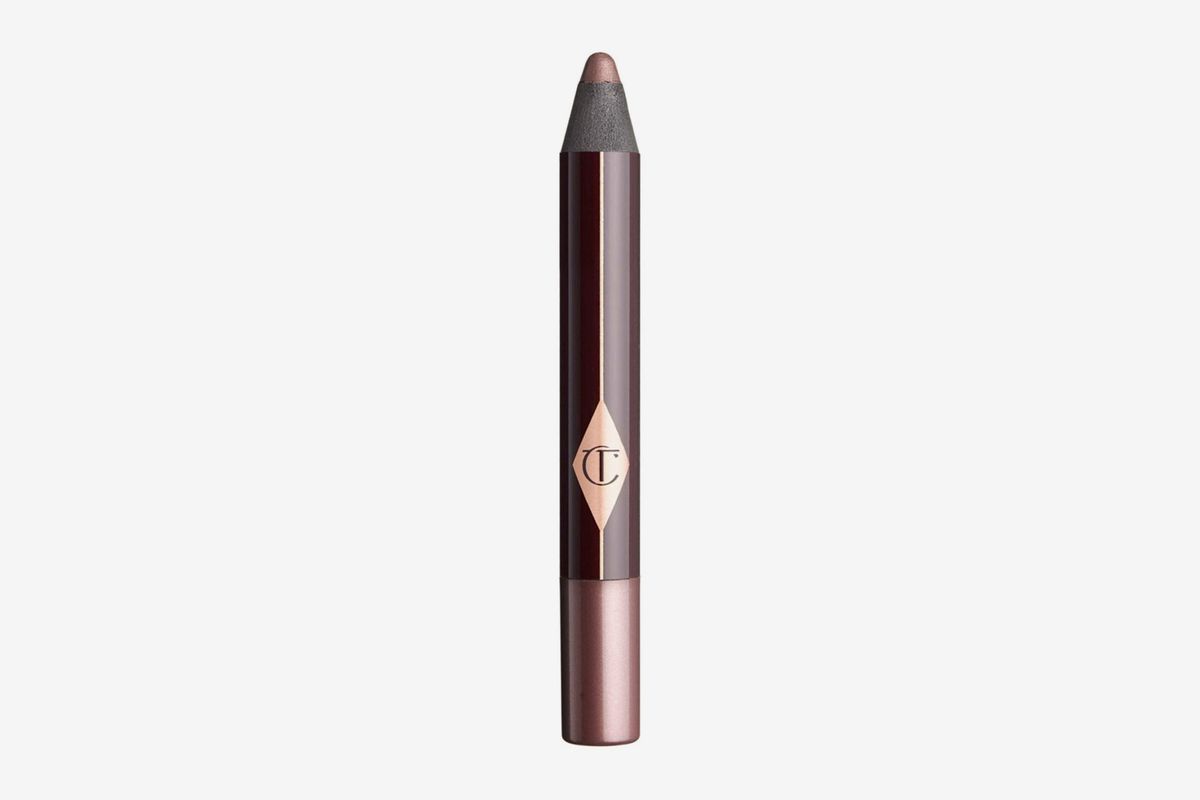
Or I’ll use Charlotte Tilbury’s Color Chameleon in Smokey Emerald for a green, smoky look and coordinate it with a monochromatic outfit. The pimple has now been disappeared.
The Strategist is designed to surface the most useful, expert recommendations for things to buy across the vast e-commerce landscape. Some of our latest conquests include the best acne treatments, rolling luggage, pillows for side sleepers, natural anxiety remedies, and bath towels. We update links when possible, but note that deals can expire and all prices are subject to change.
Every editorial product is independently selected. If you buy something through our links, New York may earn an affiliate commission.